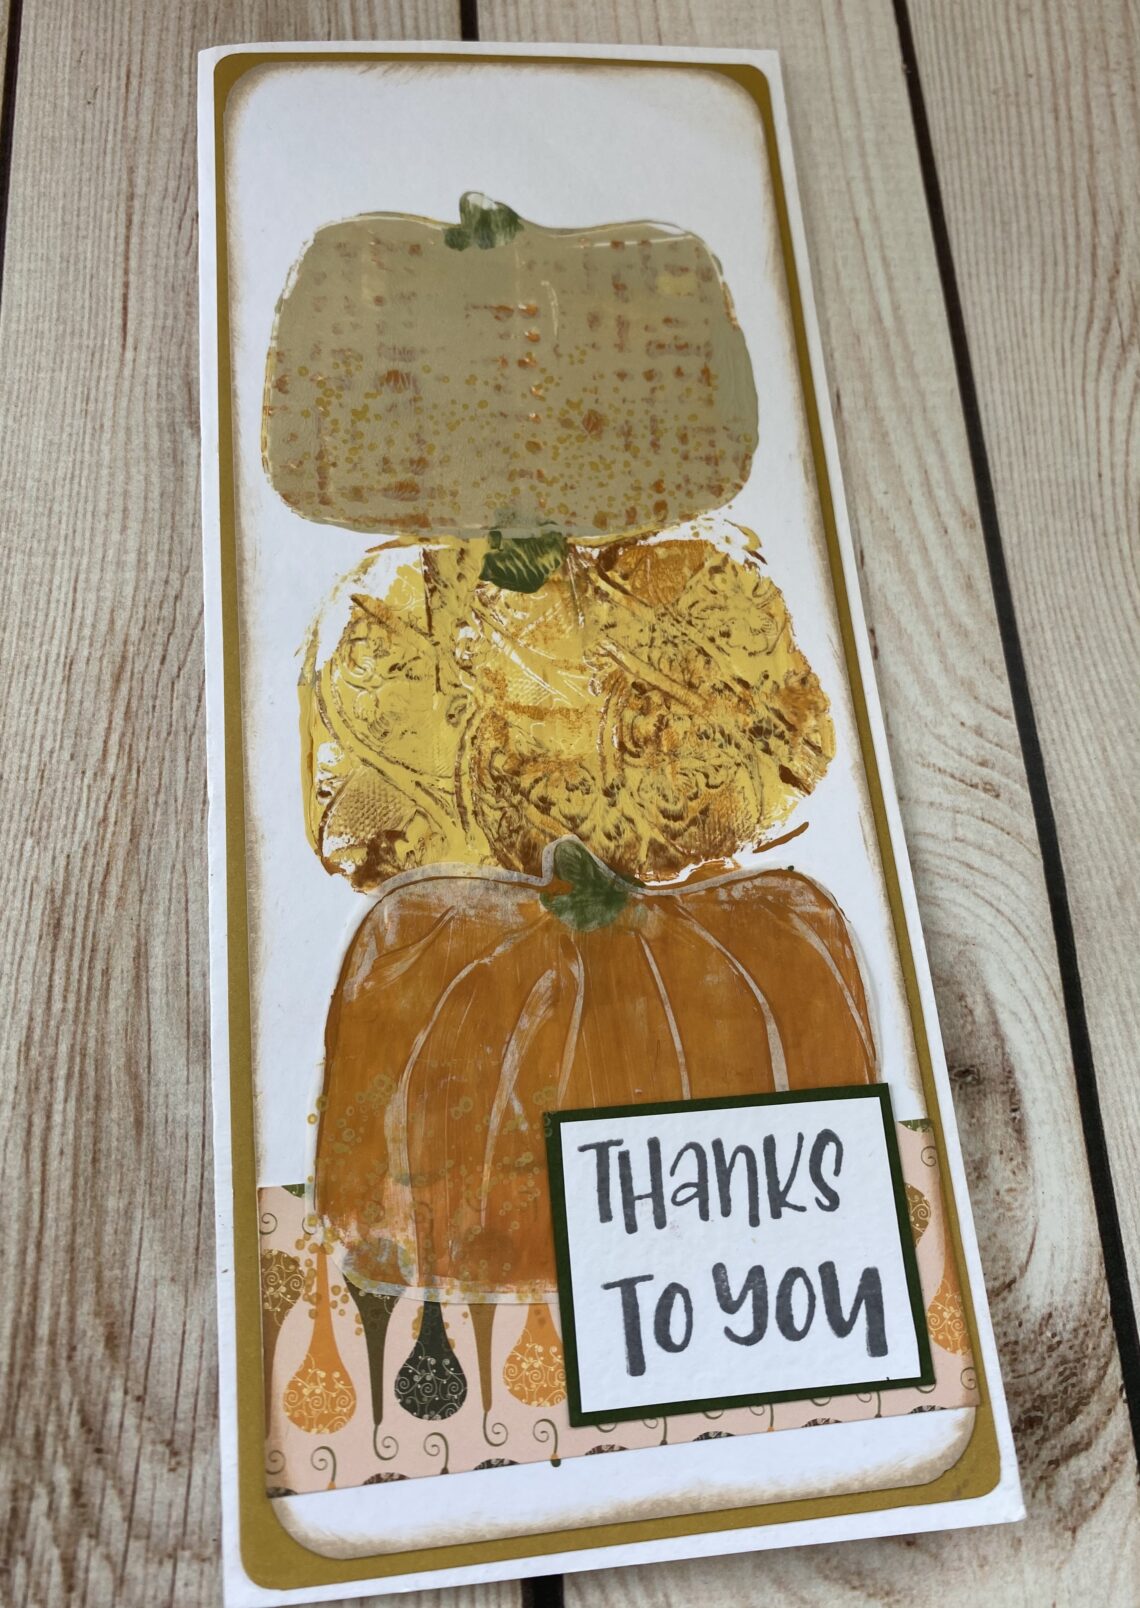
Easy Fall Card Using a Gel Press Petite
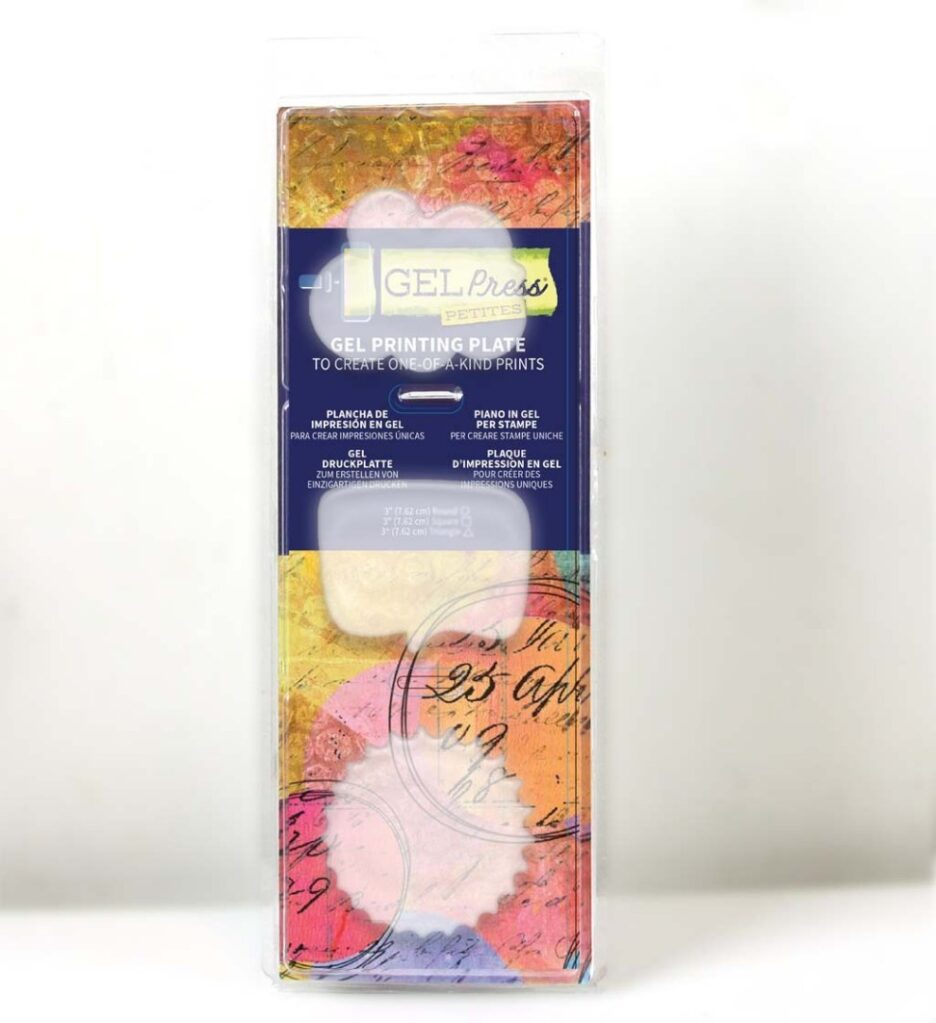
If you love your Gel Press plates and aren’t already a part of the Gel Press Printmakers, you’ll be sure to be inspired and connect with other monoprinting enthusiasts. While I was connecting, sharing, and exploring in this group the other day, I ran across a clever idea that Linda C. shared. She took the ‘Talk Bubble’ petite plate, turned it upside down and used it like a pumpkin.
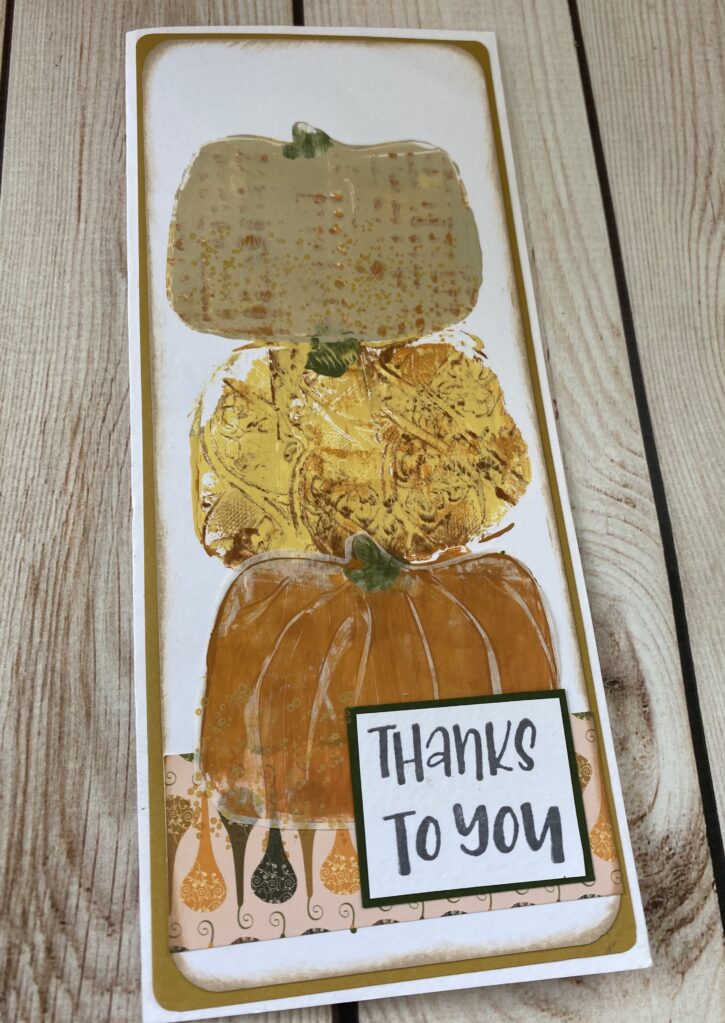
So I decided to make a Fall ‘Thank You’ card using the same clever idea.
Here’s what I used:
- Talk Bubble Petite Plate
- Cardstock in white or ivory and green or a coordinating color
- Scrap of Fall colored/themed patterned paper
- Acrylic paint for your pumpkins
- My Sweet Petunia Misti awesome stamping tool
- Brayer
- Sentiment Stamp as well as textured stamps
- Ink Pad
- Scrap paper for rolling off excess paint
- Corner Rounder
- Scissors and/or Trimmer
- Tape runner or glue stick
Instructions:
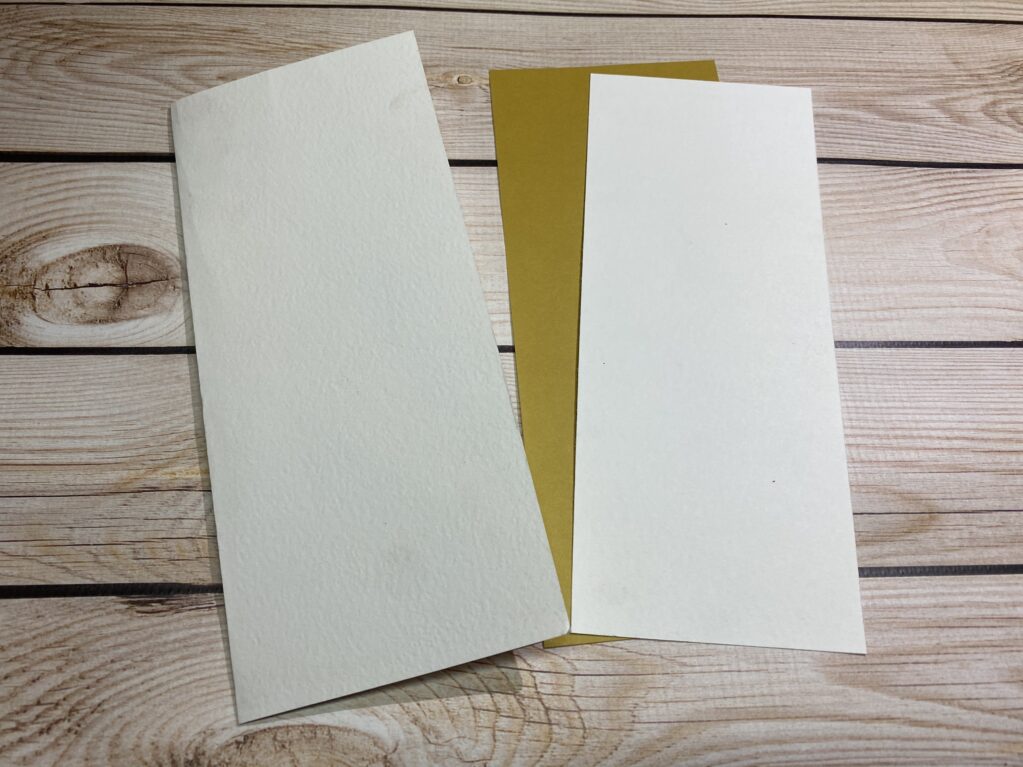
Trim an 8 1/2″ x 11″ piece of white or ivory cardstock down to 7 1/2″ x 8 3/4″. This will be your card base. With the 7 1/2″ length at the top, score at 3 3/4″ (the half-way point).
Trim a colored piece of paper slightly smaller than the card base. Then trim another white piece of cardstock slightly smaller than the colored sheet.
Corner round the colored cardstock if desired. Then adhere on top of the card base with your tape runner or glue stick.
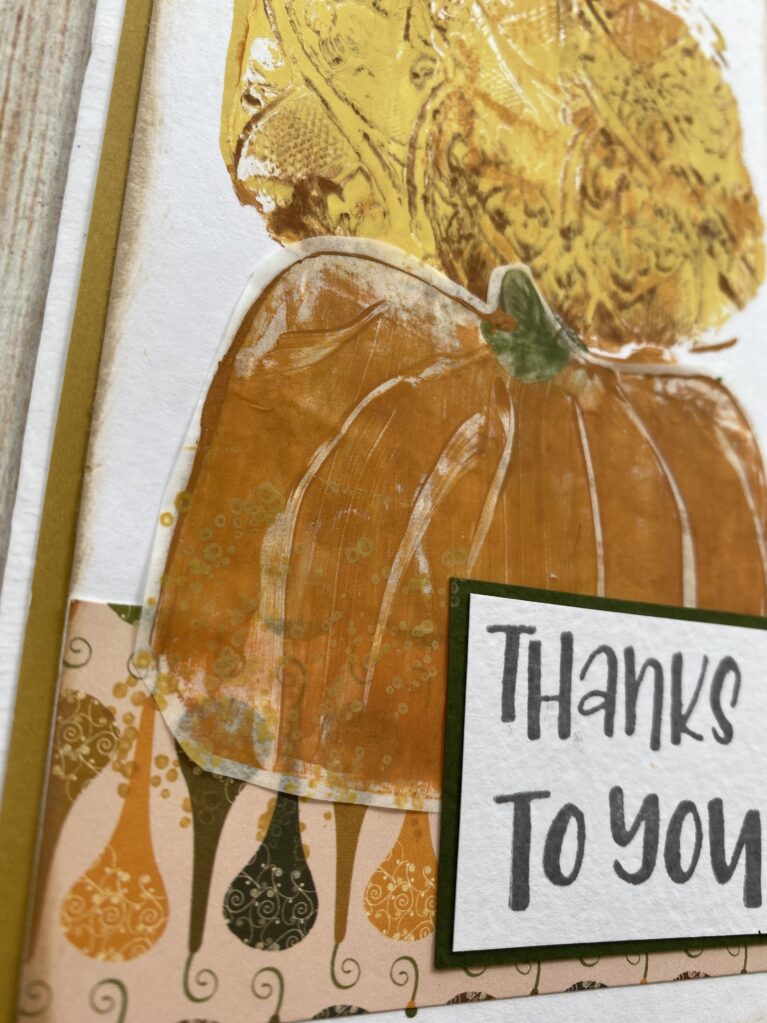
Adhere a small piece of patterned paper towards the bottom of your smaller white cardstock.
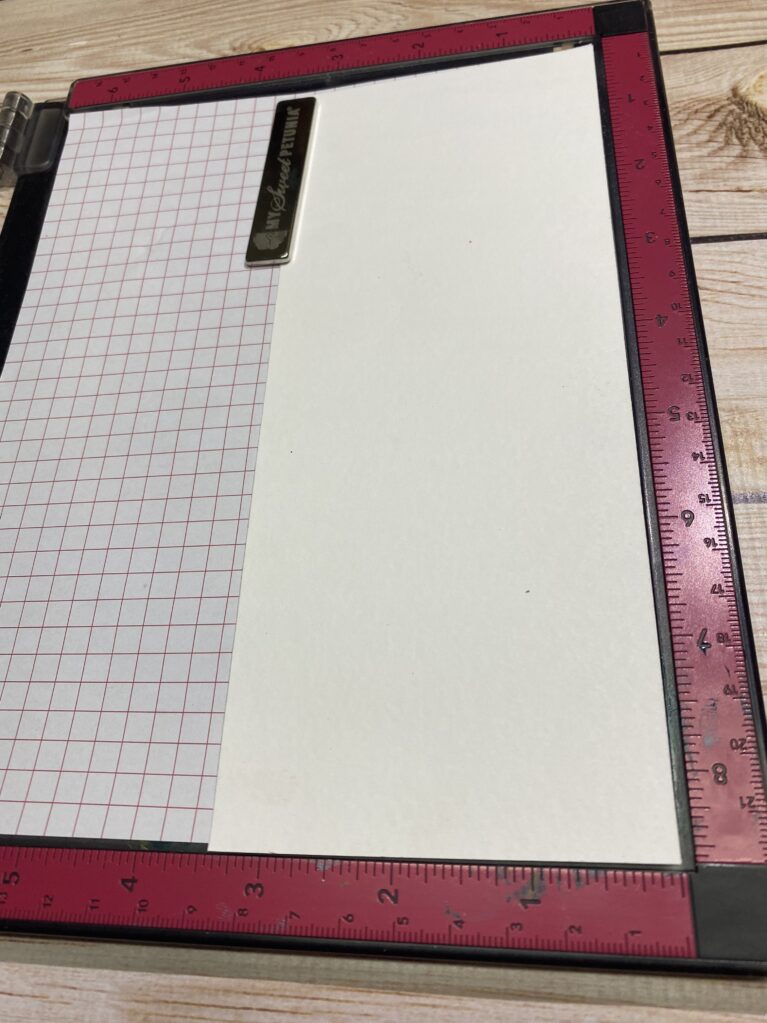
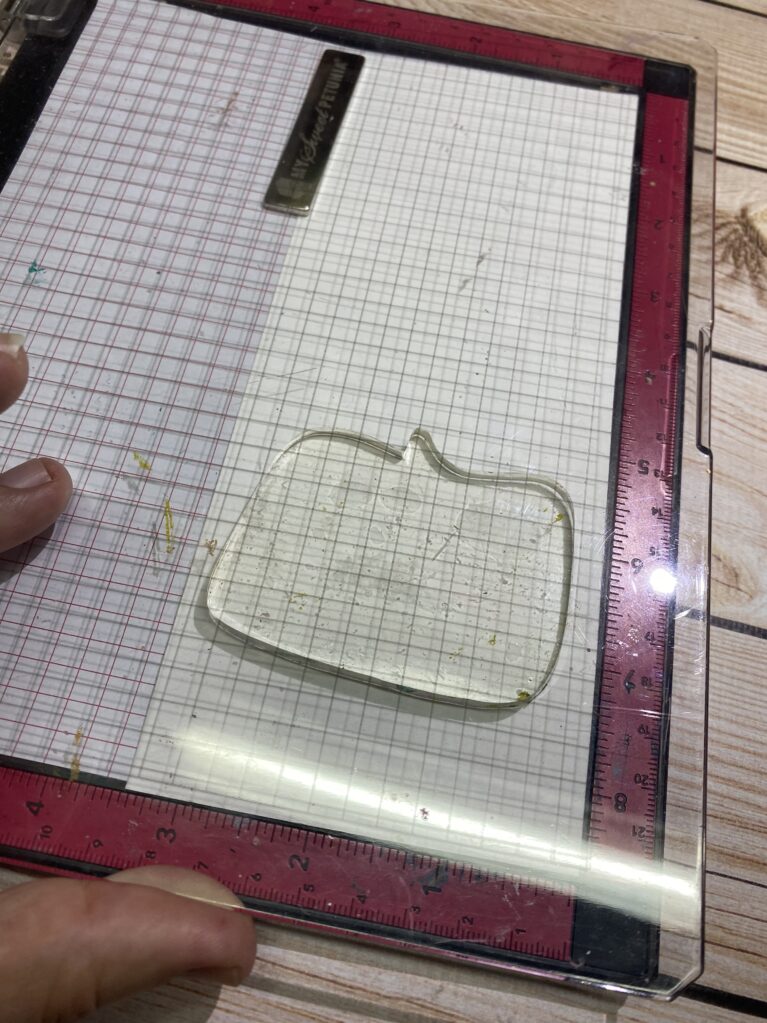
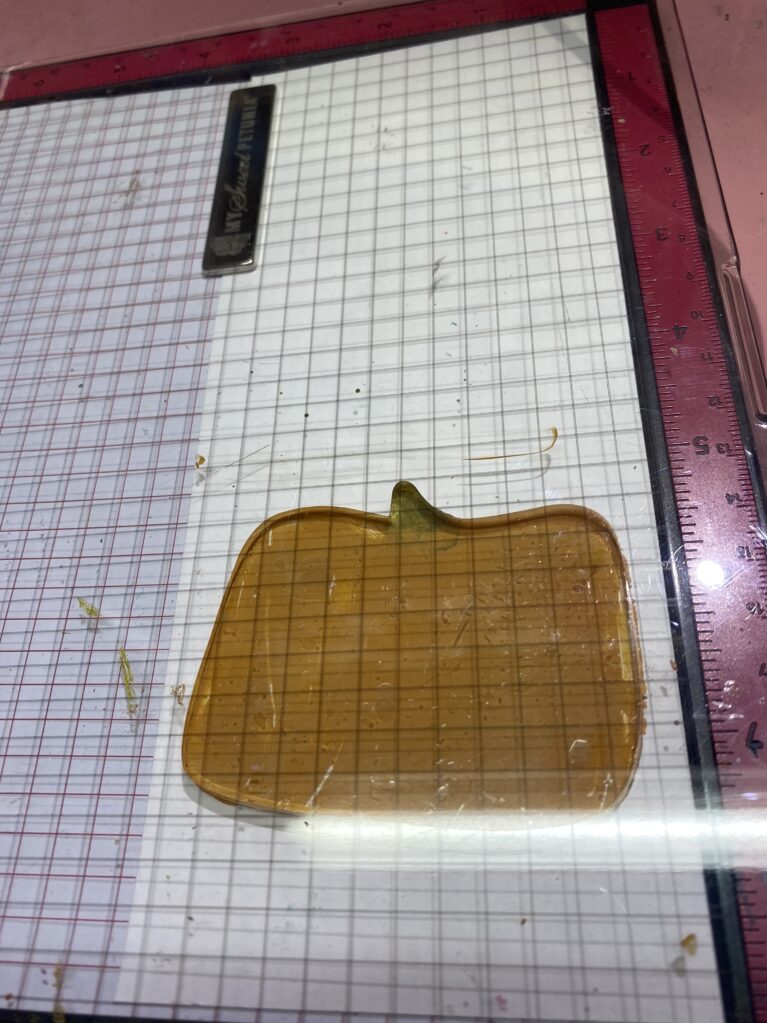
Next, take the Misti and load up your smaller white cardstock into the Misti. Add your ‘talk bubble’ plate upside down and place it where you will stamp your first of three pumpkins. Don’t forget to add some green for the stems and some texture if you’d like. Load up the pumpkin with paint and a brayer (not too much paint) and make impressions as you see fit. Roll off excess paint to an extra sheet of paper. Stamp. Move the plate and place in the next area where you’l like to stamp the next pumpkin and do this until you have three pumpkins. On the last pumpkin roll a little white paint on the plate and take one last pumpkin impression on your ‘scratch paper’ where you rolled the excess paint.
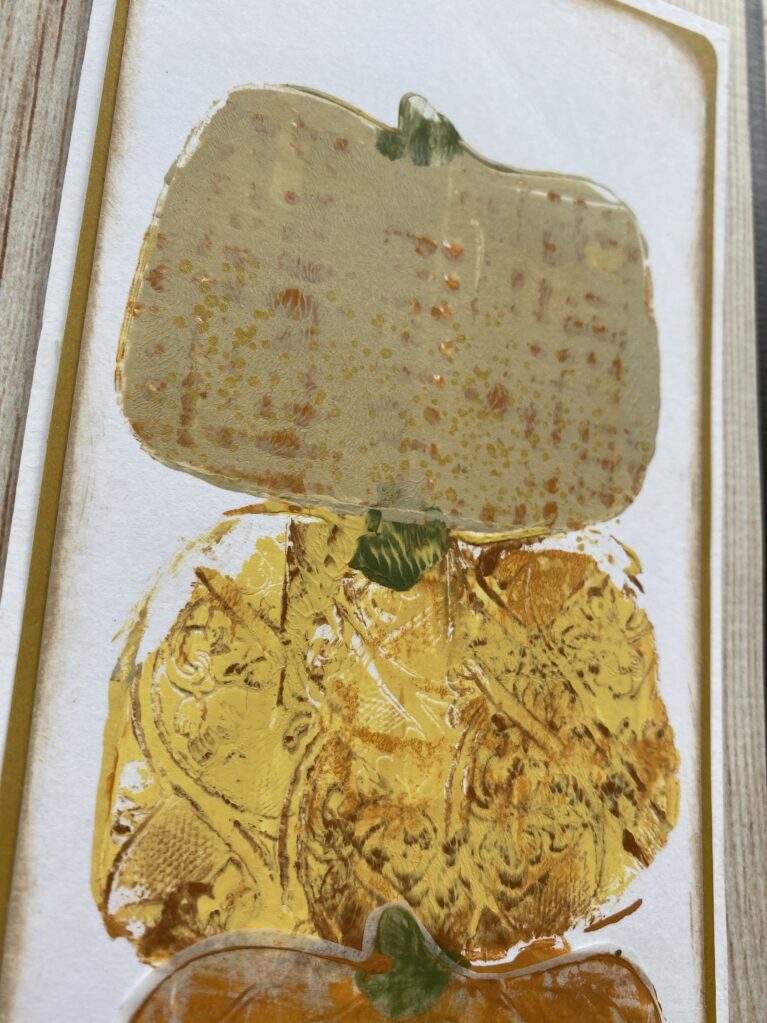
Allow the pumpkins to dry. Next ink the edges and use a corner rounder for your pumpkin piece.
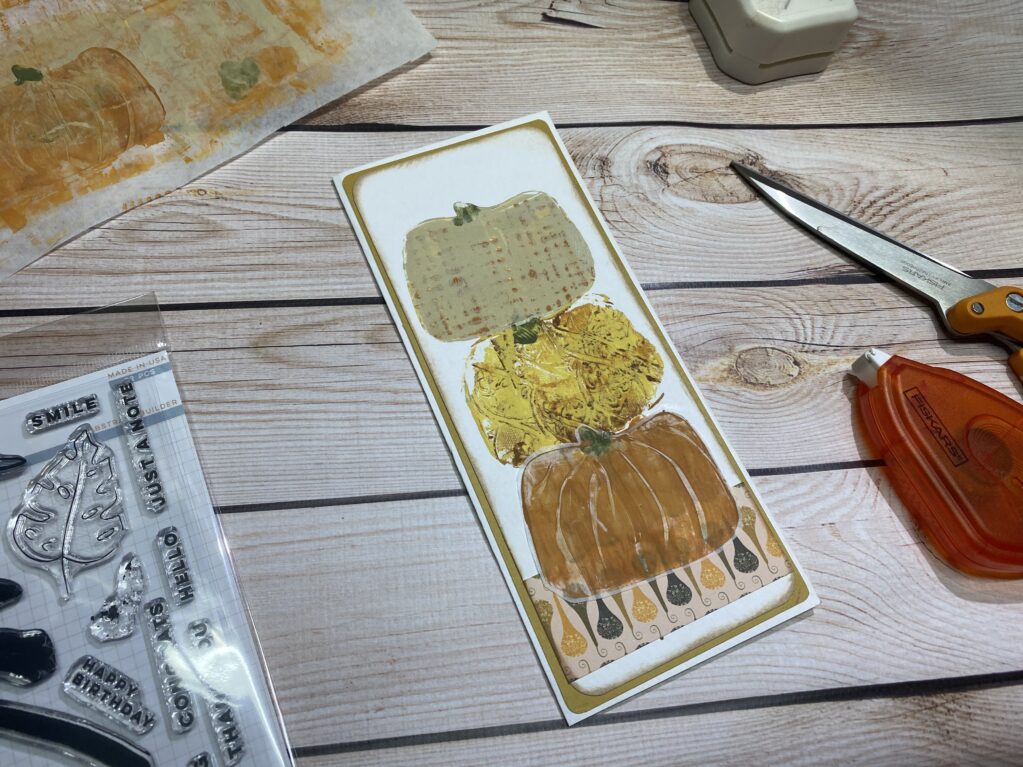
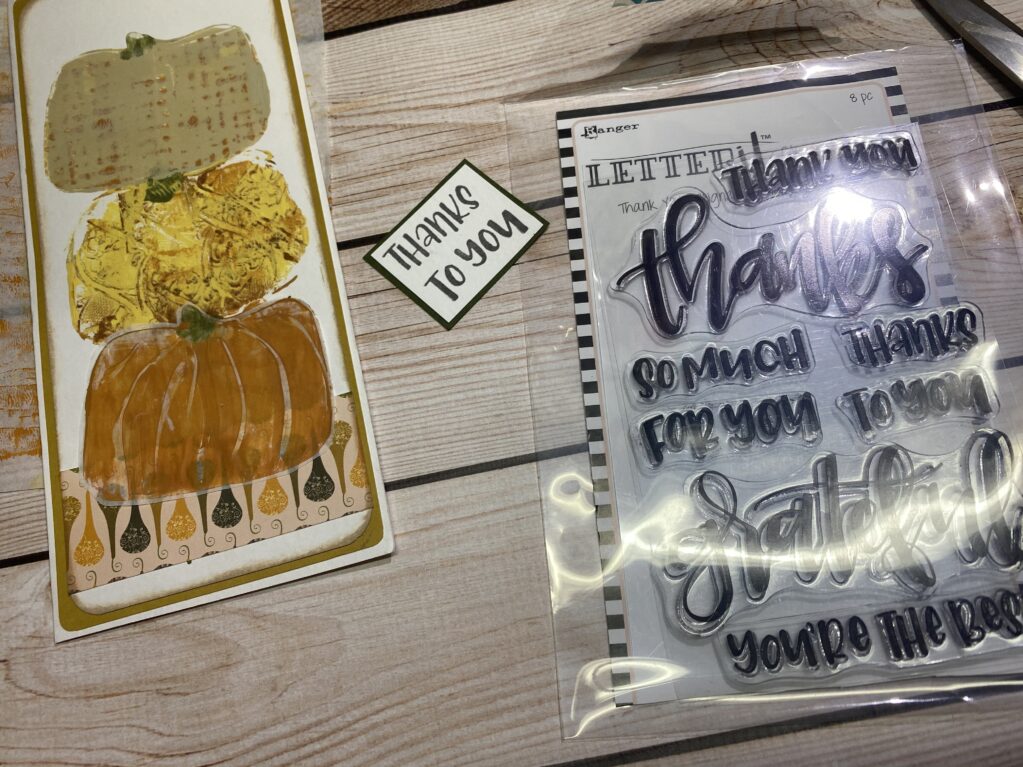
Next, stamp your sentiment and back with a scrap of colored cardstock.
Stamp any additional accents you’d like. I used a little yellow ink and a dot stamp.
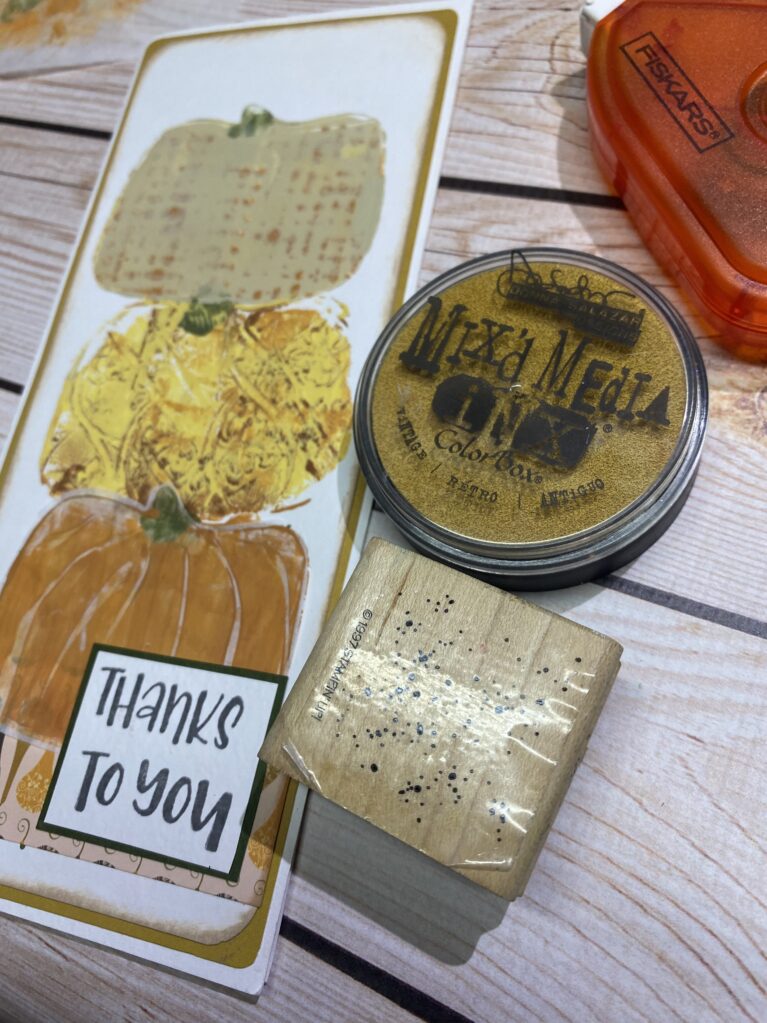
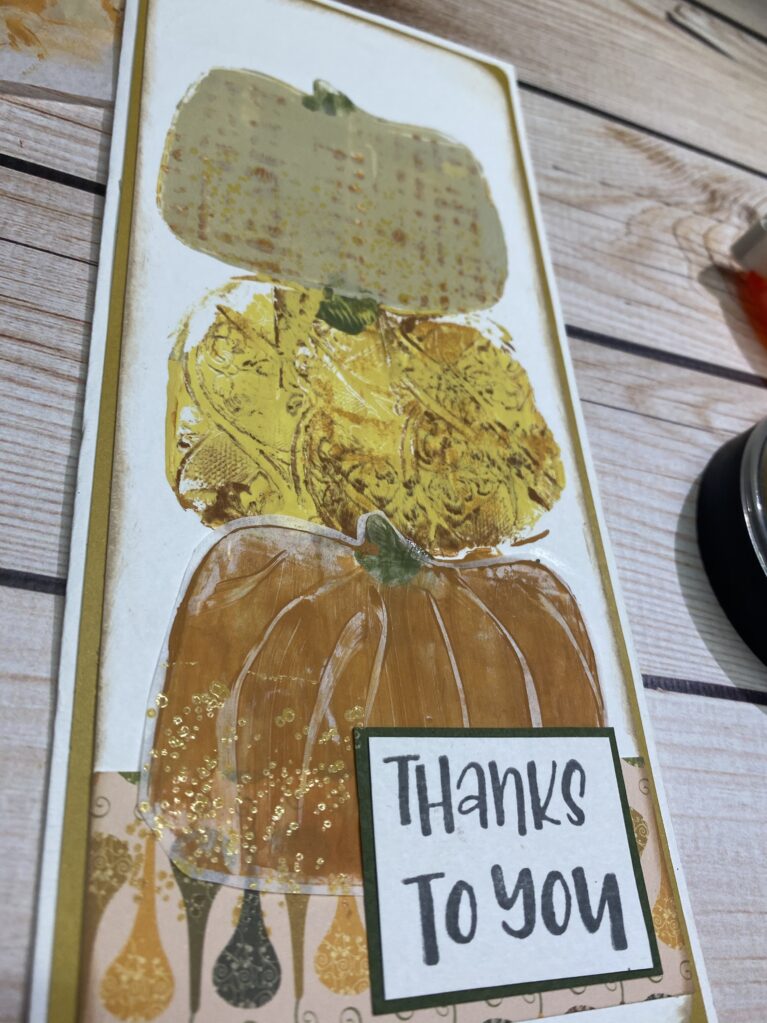
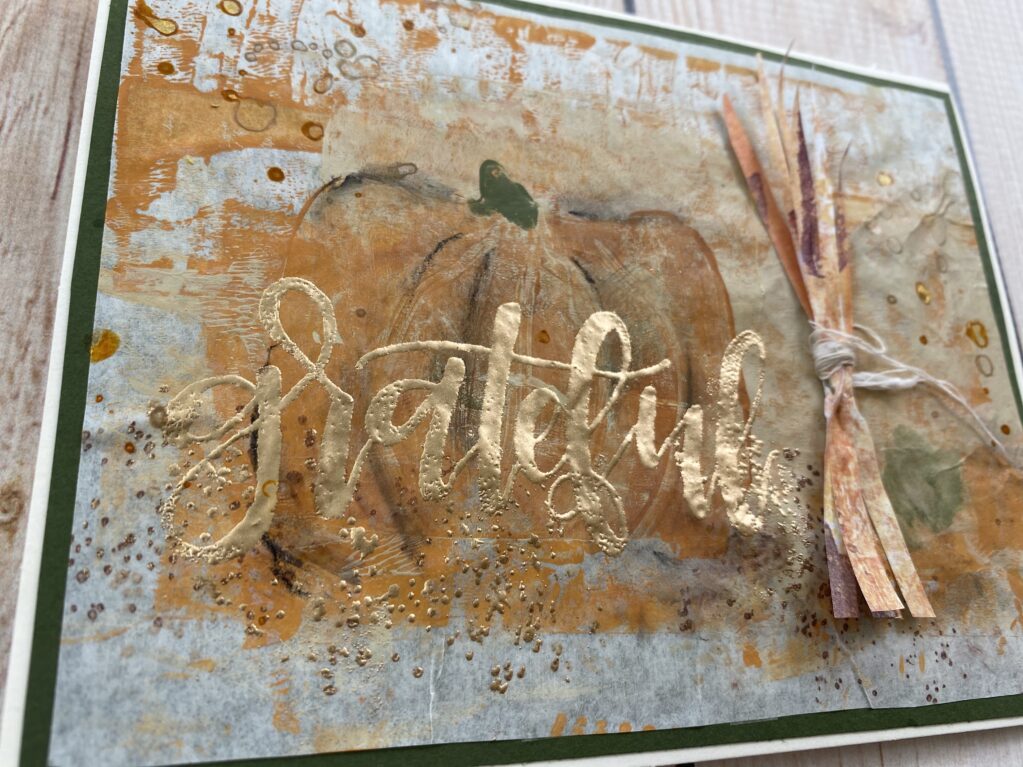
Make a second card by using your scrap paper, scraps from gel press prints (to make a wheat or corn stack), and embossing a sentiment.
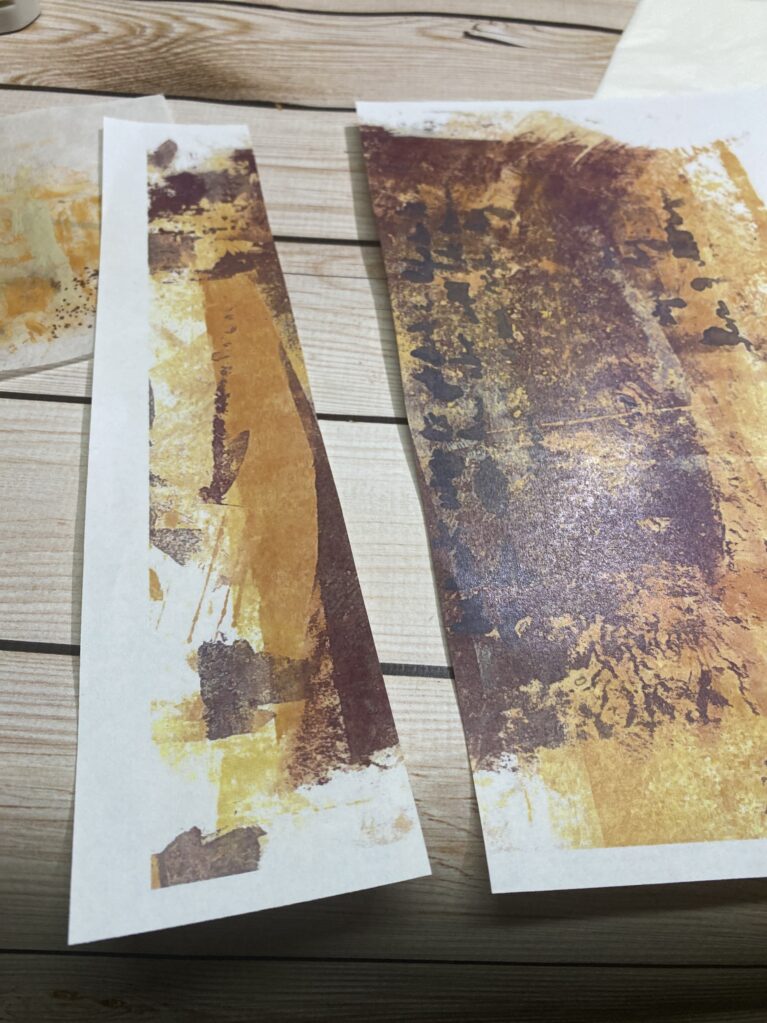
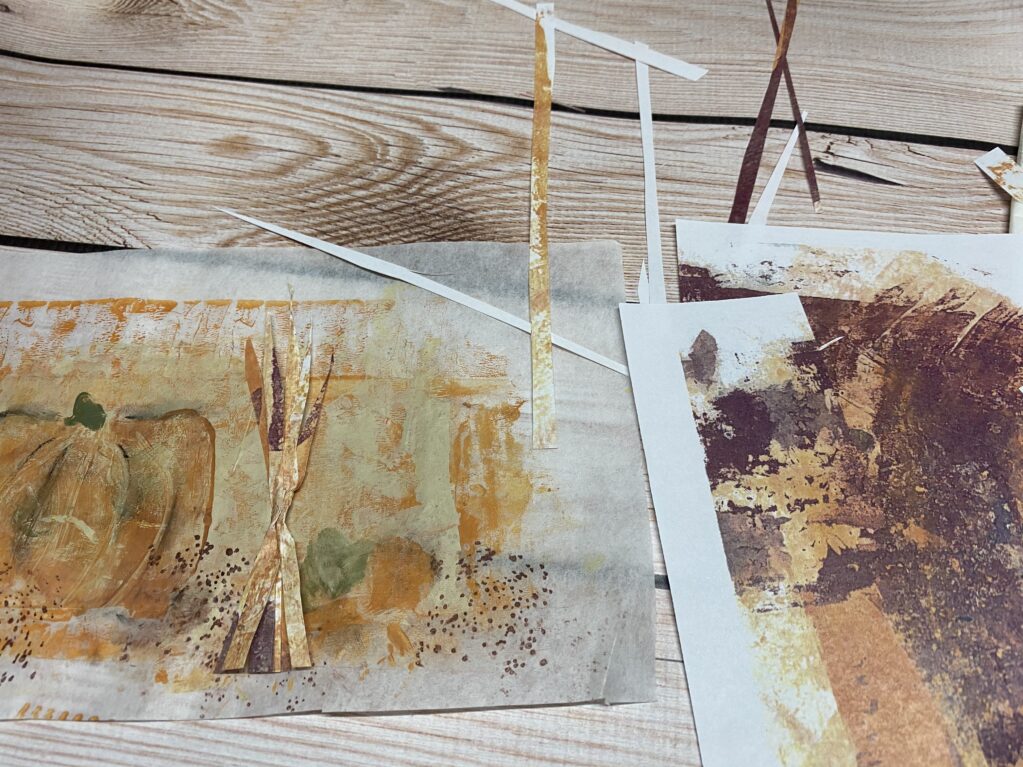
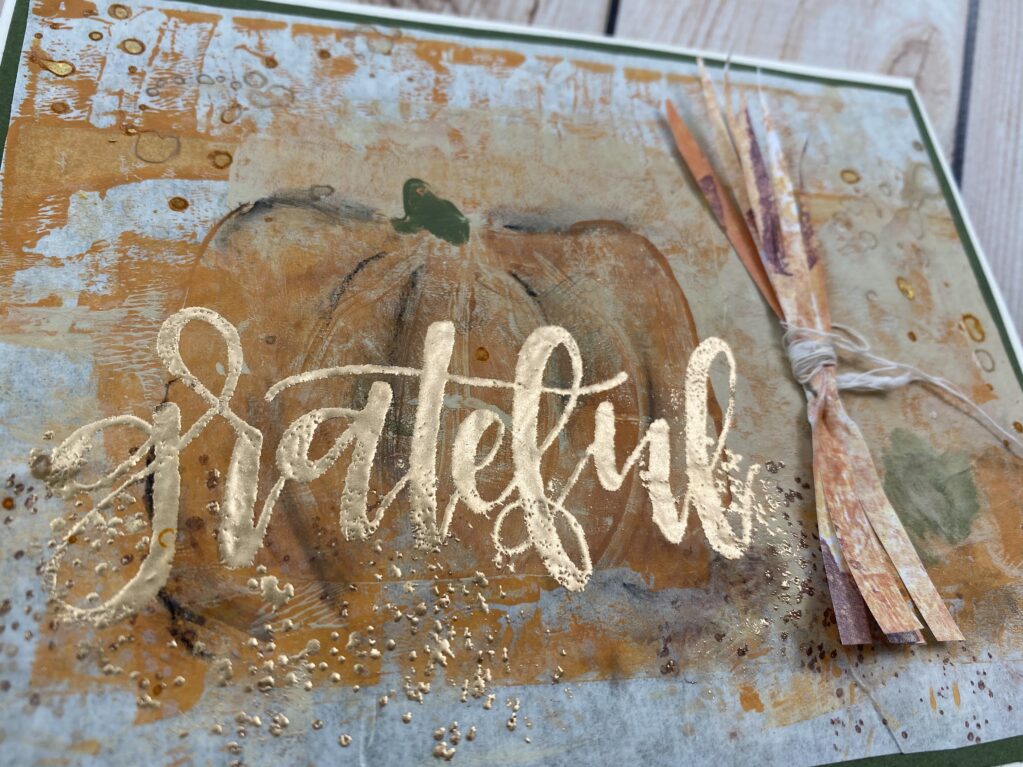
Send to friends.
You can use a business-sized envelope for slim line cards, purchase some at Hobby Lobby, or make your own. My friend Cheryl Biglioli shares just how to make your own slim line envelope HERE.
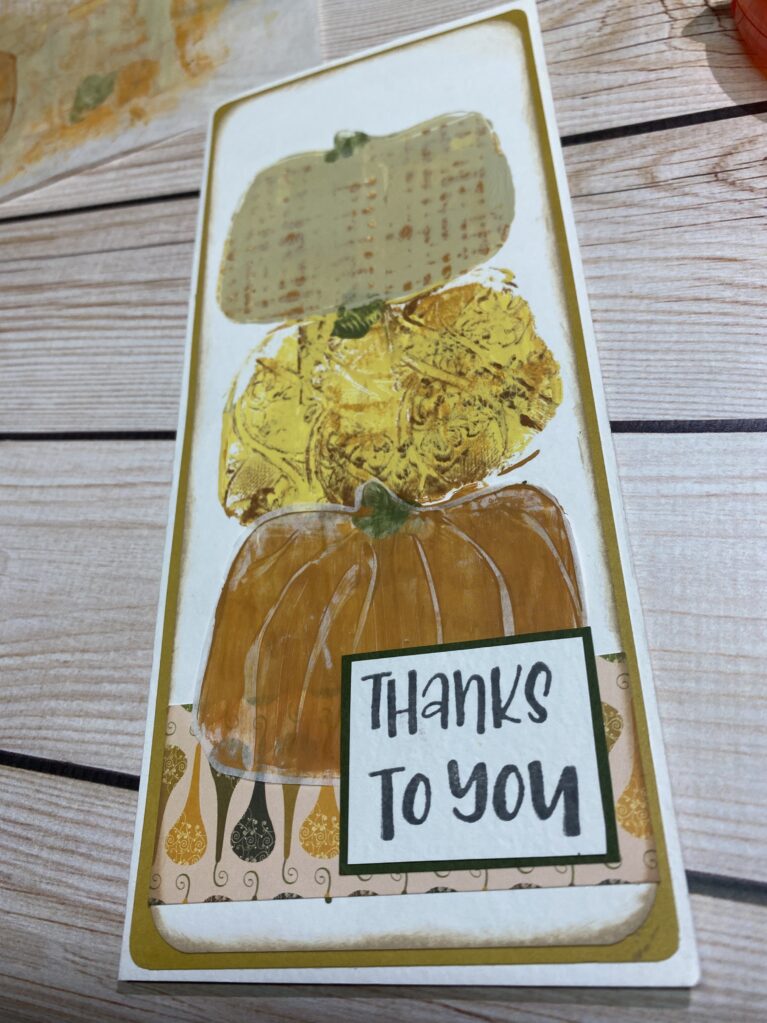
Here’s my original and intended card.
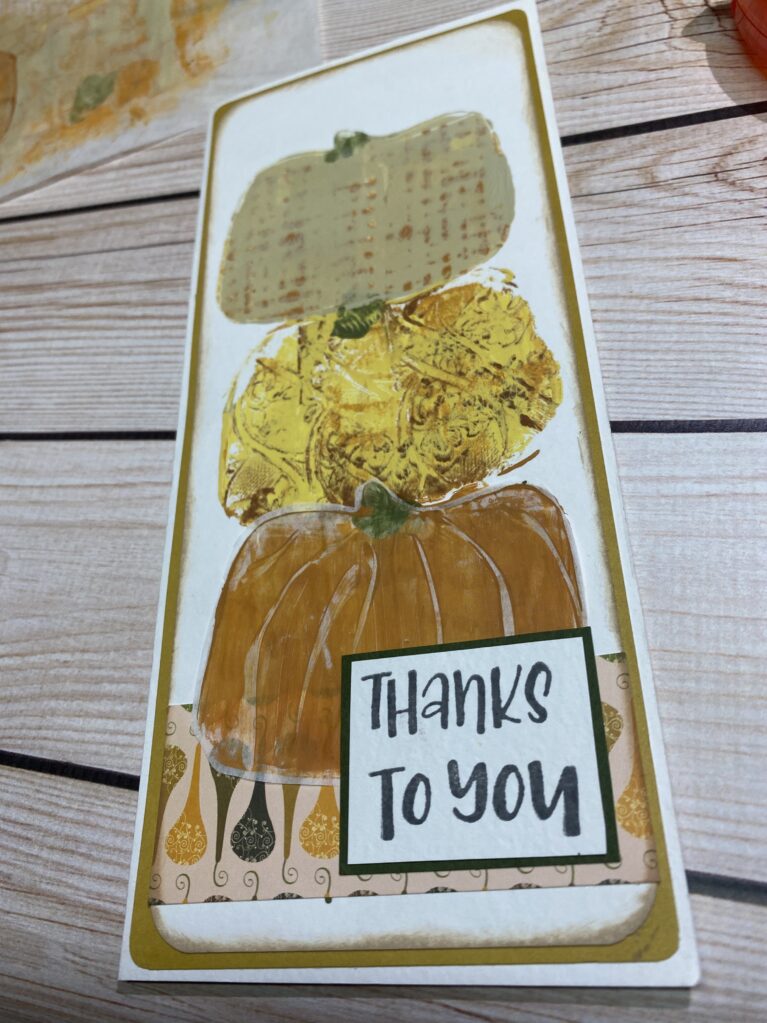
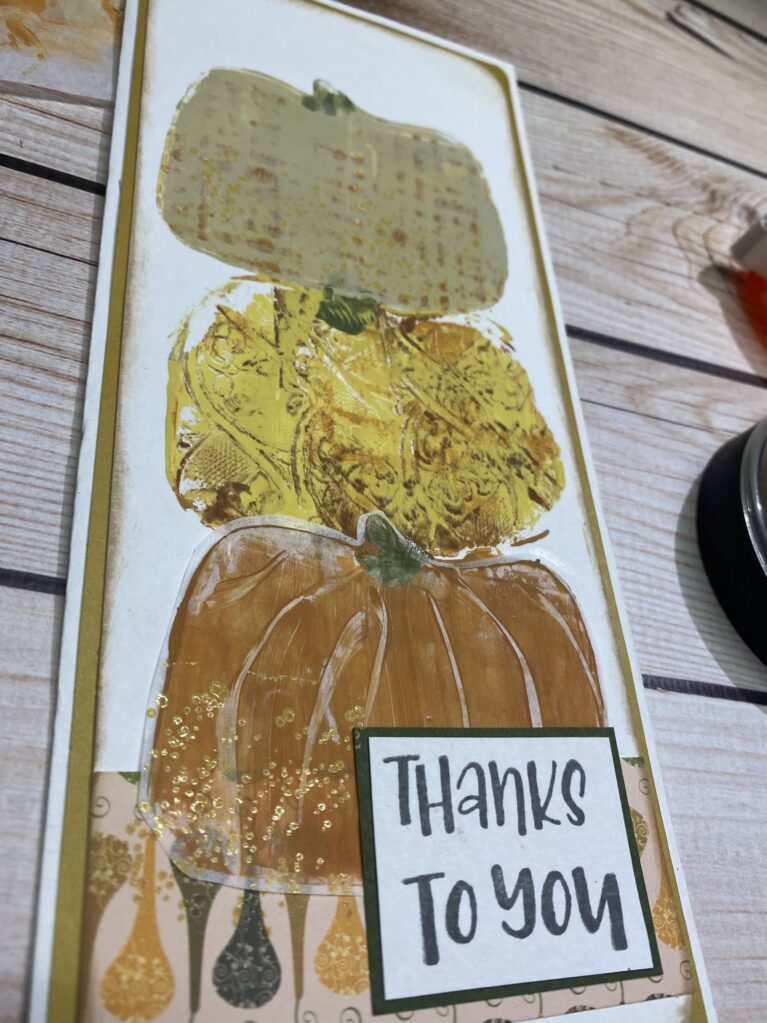
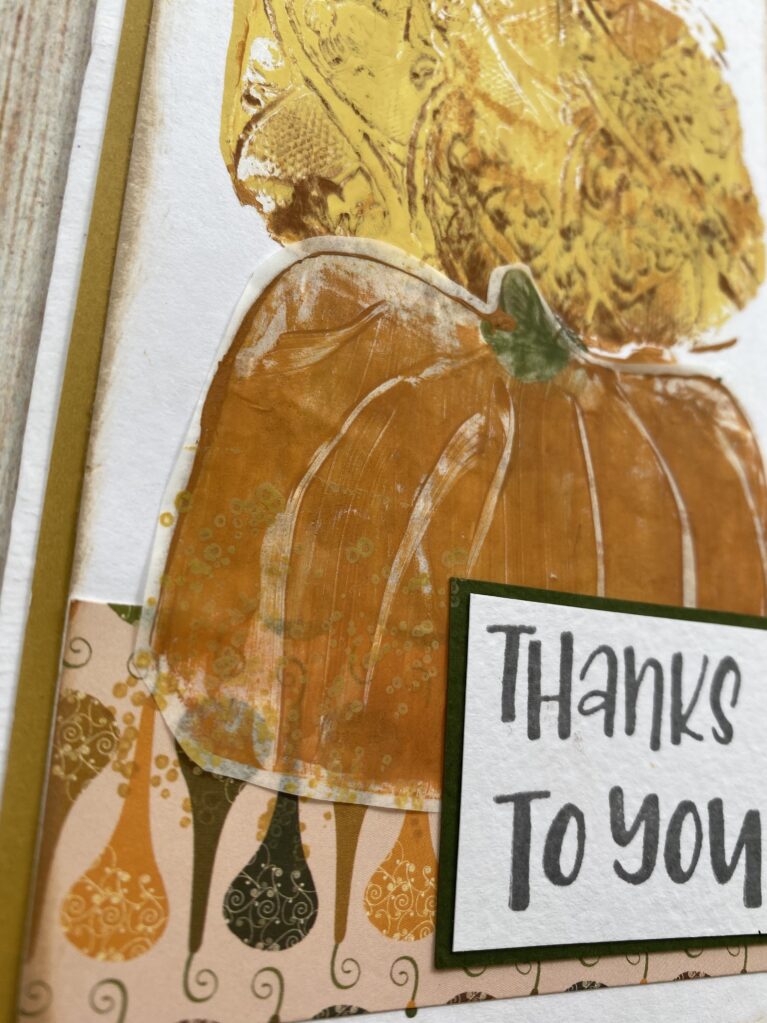
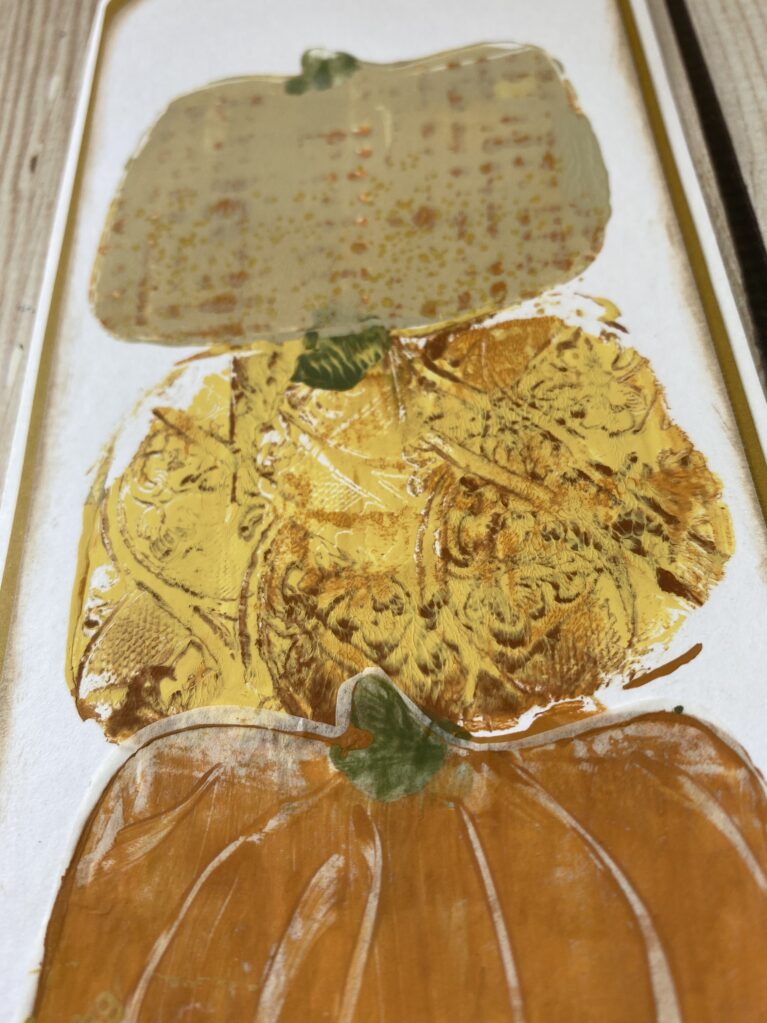
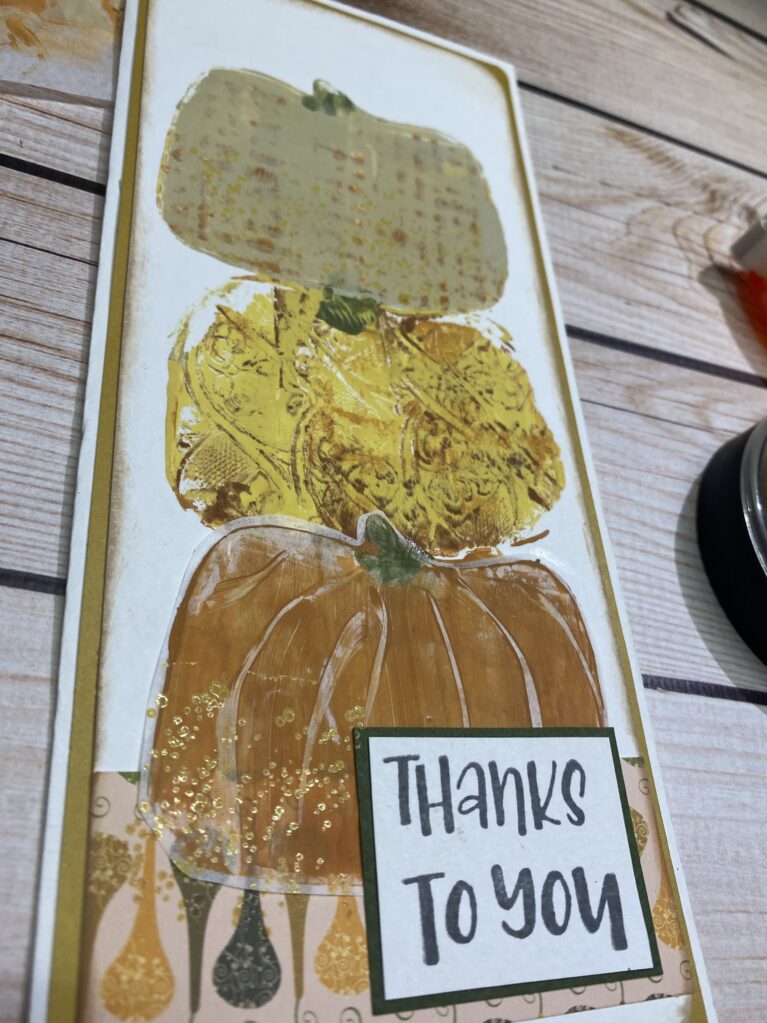
Here’s my second card made from simply excess paint and scraps. I did cut up a copy I made of one of my gel prints to help with scraps too.

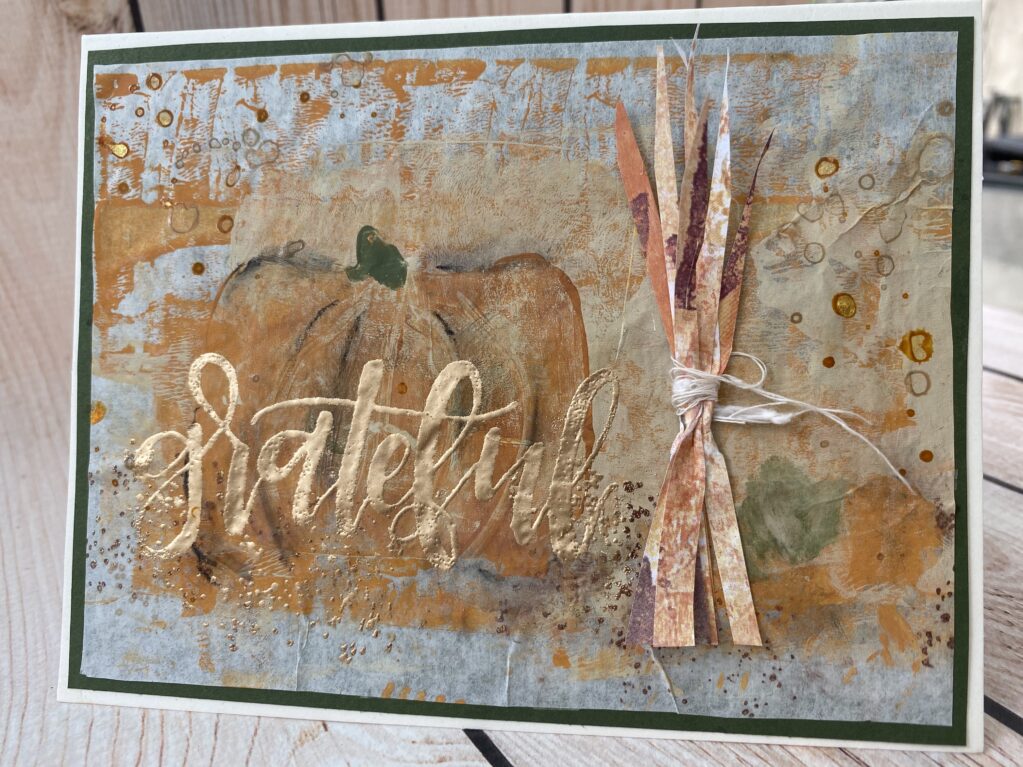
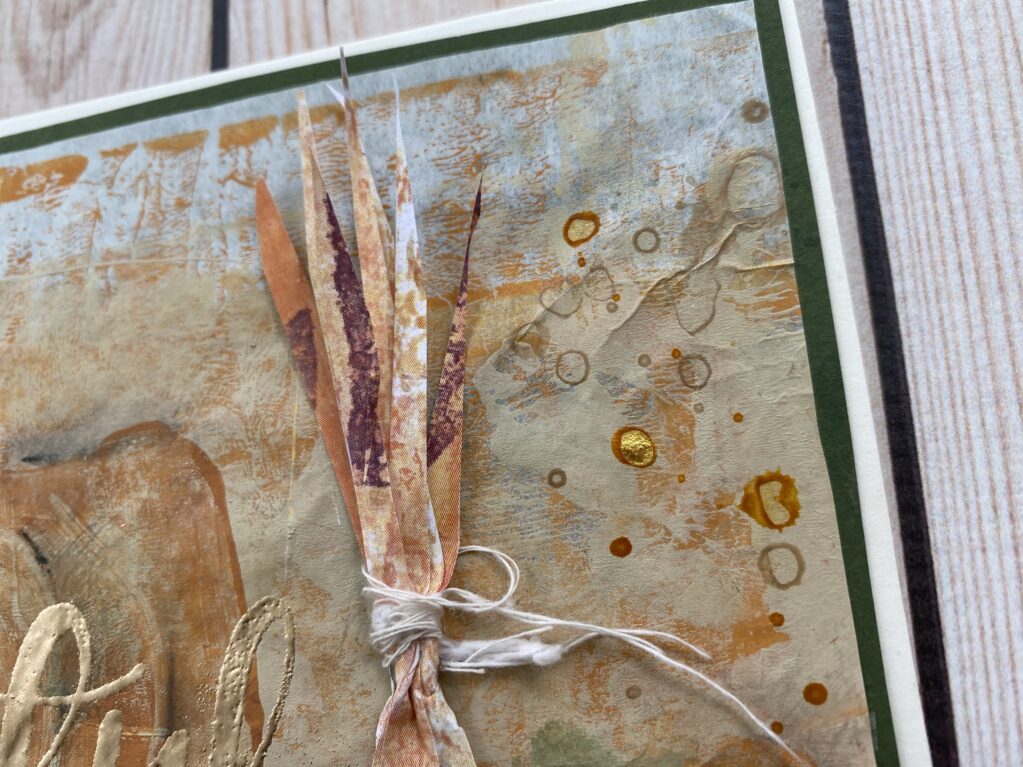
I hope you enjoyed. Take the inspiration around you and run with it. Thank you Linda for the clever idea of turning the ‘Talk Bubble’ petite plate upside down to make a pumpkin. I’ll never look at that ‘Talk Bubble’ the same again.
Looking for more Gel Press plate inspiration? You might enjoy THIS or THIS.
I’d love to know one thing you’re grateful for today. I’m grateful for YOU.
Wishing all warmest creative wishes,

artsychick
Daughter, Wife, Mother, Friend, artist, vintage loving, law enforcement officer, Southern Californian, God and country loving girl who loves to meet like minded creative people, share life with new and old friends. Art is a collaboration between God and the artist, and the less the artist does the better. ~André Gide


You May Also Like
Planning for the New Year – Inspiration
January 3, 2020
See Far Away Places – Art Journaling and Virtual Tours
March 10, 2021
3 Comments
Deborah Lewis
I love this. As I was looking at this I thought about the talk bubble and my grand and I making pumpkins. They certainly will not be a fabulous as yours. Love it much.
artsychick
Thanks. 🙂 It’s a fun one!!!
artsychick
I love the Talk Bubble. Thanks. 🙂